That line where the wall tile meets the floor tile is one of the first places a bathroom starts to show trouble. If you are wondering how to seal between wall and floor tiles, the short answer is this: it should usually be sealed with a quality sanitary silicone, not grout, and it needs to be done over a sound, dry, properly prepared joint. Get that detail wrong and you can end up with cracking, mould, water tracking and bigger waterproofing issues behind the surface.
In a bathroom, that junction is a movement point. The walls and floor expand, contract and shift slightly over time, especially with daily heat, steam and moisture. Grout is rigid. Silicone is flexible. That is why a neat silicone joint at the wall-to-floor change matters more than many homeowners realise.
Why the wall-to-floor joint needs the right seal
The junction between wall and floor tiles is not just a cosmetic line. It is part of the bathroom’s defence against moisture getting where it should not. Even in a well-built bathroom, small movement is normal. If that joint is filled with grout, it often cracks. Once cracks appear, water and soap residue can work their way in, and that creates the kind of hidden damage that is expensive to repair.
A proper flexible seal also makes cleaning easier. A smooth bead of mould-resistant silicone leaves fewer rough edges for grime to catch on. In showers and wet areas especially, that matters. If the seal is already split, lifting or black with mould, it is a sign the joint is no longer doing its job properly.
How to seal between wall and floor tiles properly
The method itself is straightforward, but the result depends on preparation. Rushing the clean-up or sealing over damp surfaces is where most jobs go wrong.
Start by checking what is already in the joint
If there is old silicone, it needs to come out fully before a new bead goes in. Sealing over the top rarely lasts. If the joint has been grouted and that grout is cracked, it should also be removed from the change-of-plane area. The goal is to get back to a clean joint so the new sealant can bond properly to both tiled surfaces.
At this stage, it is worth looking closely for signs that the issue is more than just failed sealant. Loose tiles, drummy tiles, swelling skirtings outside the bathroom, persistent damp smells or recurring mould can point to a waterproofing or substrate problem underneath. In that case, replacing silicone alone is just dressing over the symptom.
Clean and dry the joint thoroughly
Any soap scum, dust, old residue or moisture will affect adhesion. The joint needs to be clean and fully dry before silicone is applied. That sounds simple, but in bathrooms it often means allowing enough drying time after cleaning, especially around showers that are used daily.
This is also where product choice matters. For bathrooms, a sanitary-grade, mould-resistant silicone is the standard option. It needs to suit wet areas and tile applications. Cheap sealant often skins over quickly, tools poorly and does not hold up as well in a bathroom environment.
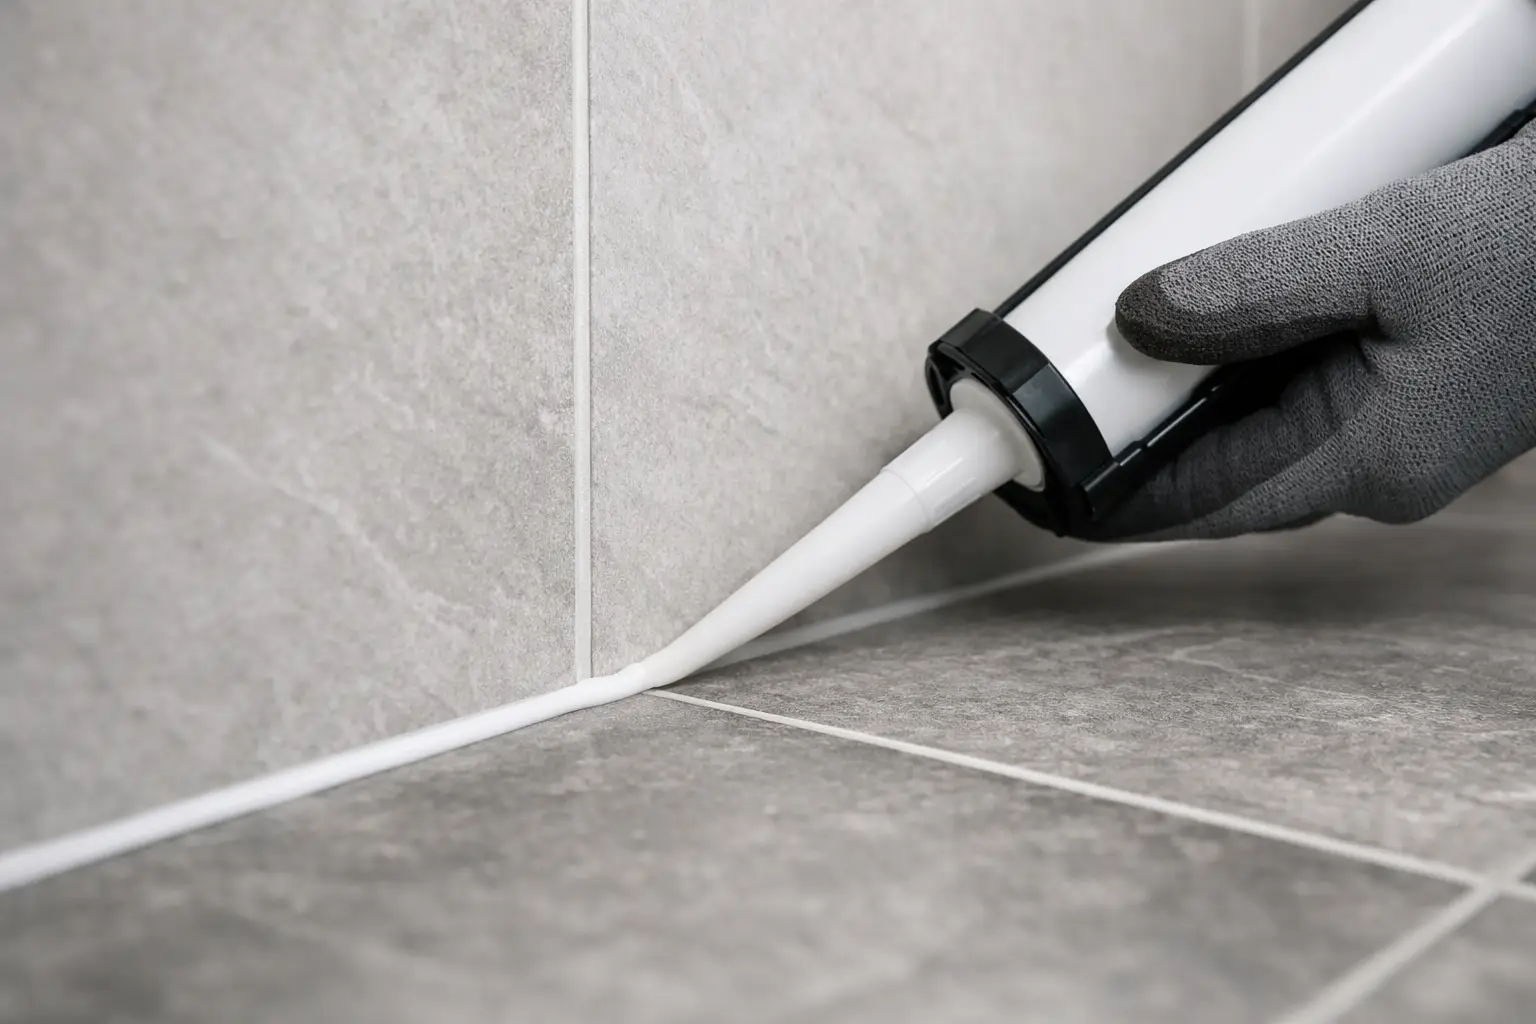
Apply silicone, not grout, at the change of plane
Where a wall meets a floor, the correct finish is generally a flexible silicone joint. That joint should be continuous, neatly tooled and sized to bridge the gap without excess bulk. Too little silicone and it can split. Too much and it looks rough, traps grime and can peel if not bonded properly.
A clean application matters because this is one of the most visible details in a bathroom. Tape can help keep lines straight if a crisp finish is important, but the real key is steady application and proper tooling before the sealant skins.
Let it cure before using the area
This step gets ignored all the time. Silicone needs curing time, and using the shower too early can ruin the bond. The exact cure time varies by product and site conditions, but the point is the same: once the seal is applied, leave it alone long enough for it to set properly.
Common problems when sealing tile joints
The biggest mistake is using grout where silicone should be used. It may look neat on day one, but movement usually wins. Another common issue is sealing over contamination. If there is soap film, old silicone residue or moisture in the joint, the new bead may not adhere properly and can pull away.
There is also the question of whether the gap itself is normal. A small, even junction is usually easy to seal. A wide, inconsistent or irregular gap may suggest poor tiling, substrate movement or previous repair work. Silicone can hide only so much. If the line is visibly uneven, the right fix may involve more than resealing.
Colour matching is another practical detail. Many homeowners want the seal to blend with grout or tile colour, which is fair enough, but performance should come first. In wet areas, the right sanitary silicone in the right joint is more important than chasing a perfect visual match with the wrong product.
When failed sealing points to a bigger bathroom issue
Not every bad-looking joint means the bathroom needs replacing. Sometimes it is just aged silicone that has reached the end of its life. But sometimes the seal keeps failing because the surfaces underneath are moving or moisture is already getting past the tiled finish.
If the same joint has been redone more than once and keeps separating, it is worth asking why. Bathrooms that were poorly waterproofed, incorrectly sheeted or badly tiled often show early movement and moisture issues around corners and floor junctions. The sealant is not the cause in those cases. It is simply the first thing to let go.
This is where trade-qualified inspection matters. In a proper bathroom build, sealing is the final detail, not the thing holding the whole wet area together. Waterproofing integrity, falls to waste, stable substrates and correct tile installation all play a part in how well that wall-to-floor junction performs over time.
How to tell if you need a professional repair
If the silicone is discoloured, peeling or mouldy but the tiles are otherwise solid and the bathroom is dry, resealing may be all that is needed. If the tiles are loose, the grout nearby is cracking, or water is showing up outside the shower area, the problem may be underneath the surface.
A lot of homeowners delay dealing with these signs because the joint itself looks minor. The trouble is that bathrooms do not usually fail all at once. They fail gradually, and the wall-to-floor line is one of the easiest places to spot it early.
For older bathrooms, especially those that have had patch jobs over the years, it often makes sense to have the area assessed properly rather than keep replacing silicone and hoping for the best. In homes across Caroline Springs and Melbourne’s western suburbs, that approach usually saves money compared with chasing recurring leaks and cosmetic fixes.
Why workmanship matters in wet areas
Anyone can run a bead of silicone along a tile junction. Doing it neatly, over the right substrate, with the right wet-area product and the right understanding of what sits behind the tiles is a different story. Bathrooms are not forgiving when shortcuts are taken.
That is why sealing details should be looked at as part of the overall quality of the wet area. If the joint is handled properly, it supports the performance of the bathroom. If it is treated like an afterthought, it can become the weak point that lets moisture, mould and damage get started.
At BP Building & Maintenance, that practical approach matters because sealing is never just about making the edge look tidy. It is about whether the bathroom has been built and finished to last.
If you have a bathroom joint that is cracking, lifting or constantly going mouldy, the best next step is not to ignore it. A small line between wall and floor tiles can tell you a lot about the condition of the bathroom behind it, and catching the problem early is always easier than repairing water damage later.
Leave a Reply