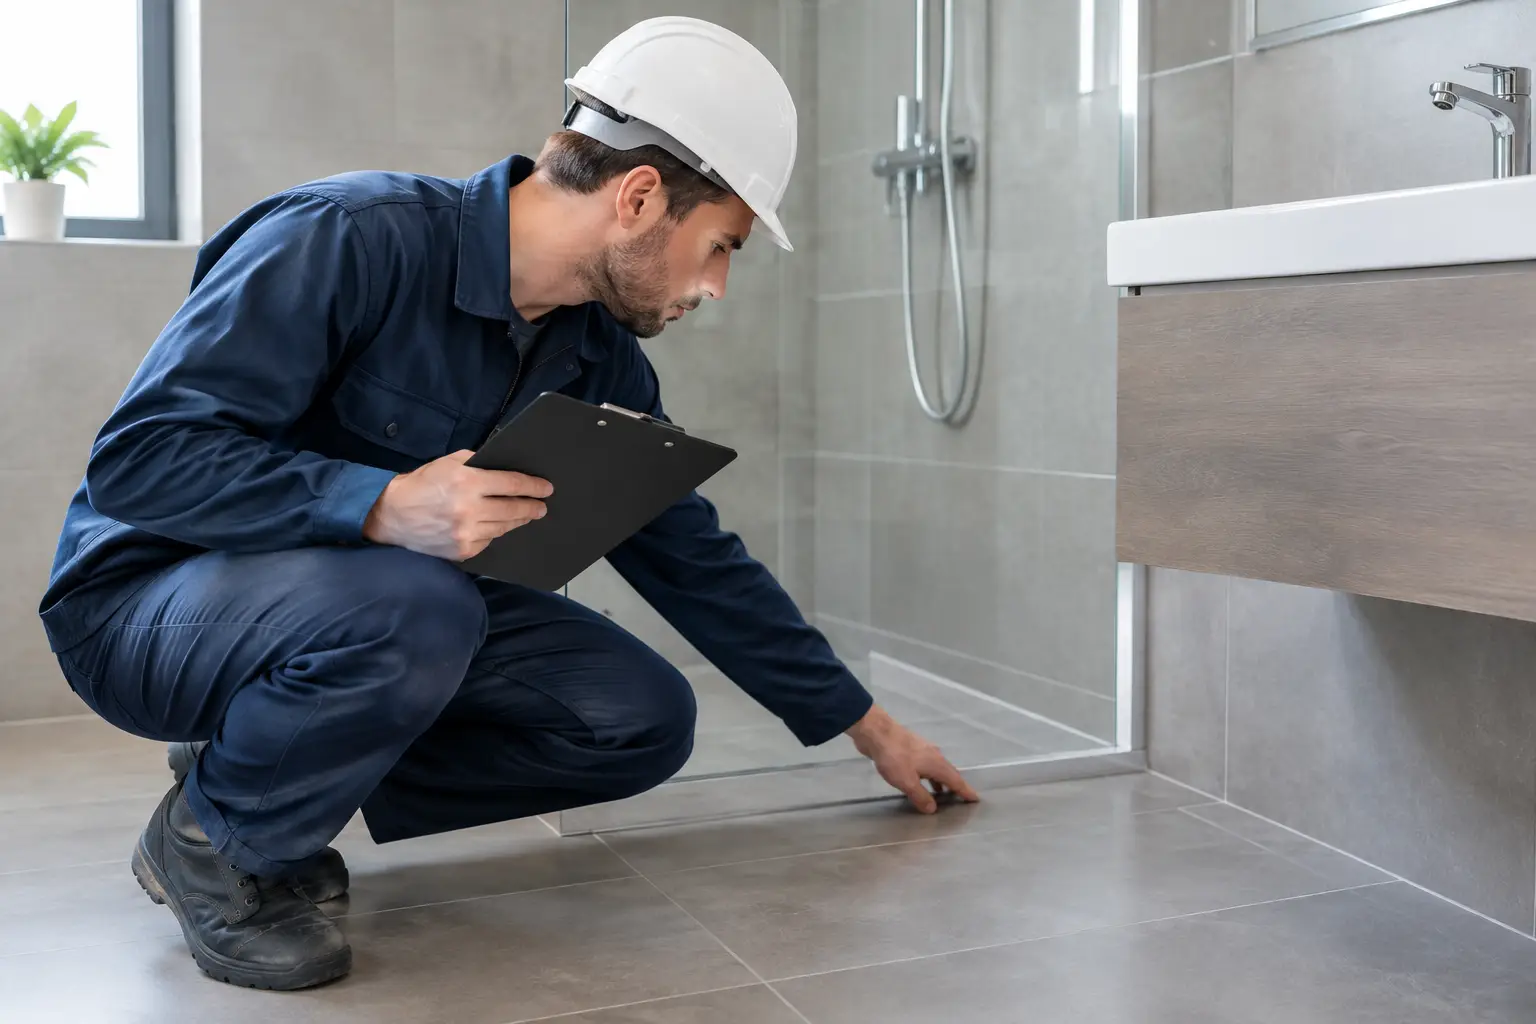
A bathroom can look freshly renovated and still have a waterproofing problem hidden behind the tiles. That is why knowing how to inspect bathroom waterproofing matters before you buy a property, start a renovation, or sign off on completed work. The key is understanding what you can check from the surface, what should be documented during construction, and when to bring in a qualified waterproofer.
Waterproofing is not a cosmetic finish. It is the protective system that stops water travelling into wall frames, flooring, adjoining rooms and the structure below. In a walk-in shower or wet-area bathroom, a small failure around a drain, corner or wall junction can lead to expensive repairs well beyond the tiled area.
Start with the bathroom’s warning signs
In an existing bathroom, the waterproof membrane is concealed behind tiles, under screed, or beneath floor finishes. You cannot confirm its condition simply by looking at grout lines. However, visible symptoms can tell you whether moisture may be getting past the finished surface.
Look closely at the shower perimeter, floor-to-wall junctions, vanity wall and the room next door. Loose or drummy tiles, cracked grout that keeps returning, swollen skirting boards, peeling paint, stained ceilings below an upstairs bathroom and a persistent musty smell all warrant further investigation. Mould alone does not always mean waterproofing has failed – poor ventilation or a leaking fixture can cause it too – but it should never be ignored.
Pay attention to where the damage appears. Moisture around the shower screen may point to failed sealant or poor screen installation. Damage at the base of a wall outside the shower can indicate water escaping from the shower recess, an incorrectly formed hob, or inadequate waterproofing coverage. A leak around a toilet or vanity may be plumbing-related rather than membrane-related. Finding the source properly avoids paying for the wrong repair.
Check the shower floor and drainage
A well-built shower floor directs water to the waste without pooling. Run the shower and watch how the water behaves once the surface is wet. It should move steadily towards the drain, not sit along the back wall, in corners, or against the shower screen.
Minor surface tension around a drain is one thing. Regular puddling is another. Standing water puts extra pressure on grout joints, sealant and the waterproofing system underneath. It can also make the bathroom slippery and encourage mould growth.
Check that the floor waste is secure, not cracked, and sits neatly within the tiled surface. In a walk-in shower, the fall to the waste needs to be carefully formed before tiling. A floor can appear level to the eye but still drain poorly in daily use. If water consistently runs away from the drain, the issue may involve the tile bed, screed, drainage set-out or the original shower construction.
Inspect movement points, corners and penetrations
Waterproofing systems are most vulnerable where different surfaces meet or where plumbing passes through a wall. These are the details that separate a bathroom that looks good on day one from one that remains sound over time.
Check internal corners, floor-to-wall joints and around the shower screen for split, missing or mould-stained flexible sealant. Silicone is not the waterproof membrane, but it is an important finishing seal that helps prevent water entering exposed gaps. It should be intact, well adhered and free from obvious holes.
Also inspect around tapware, shower rails, mixers, bath spouts and pipes. Loose fittings, cracked tiles around penetrations or gaps behind cover plates can allow water into the wall. Do not simply apply more sealant over a suspected problem. If the fitting is moving or moisture damage is already evident, the underlying wall and waterproofing detail may need assessment.
How to inspect bathroom waterproofing during a renovation
The best time to inspect waterproofing is after the membrane has been applied and before tiles are installed. Once tiling is complete, much of the critical work is hidden. For homeowners renovating in Caroline Springs or Melbourne’s western suburbs, this is the stage to ask clear questions and request evidence of the work completed.
A properly prepared wet area should have clean, sound substrates before waterproofing begins. The installer should address cracks, gaps and unsuitable surfaces first. The membrane then needs to be applied as a continuous system, with particular attention to shower walls, bathroom floors, corners, hob areas, floor wastes and pipe penetrations.
Ask to see the waterproofing before it is tiled. You are looking for an even, continuous coating without bare patches, pinholes, bubbling, tears or poorly covered corners. Different products have different colours and application methods, so colour alone does not prove quality. What matters is full coverage, correct detailing and compliance with the product system requirements.
Areas that deserve close attention
During the pre-tiling inspection, check these high-risk areas:
- The shower recess floor and walls, including the wall-to-floor junctions.
- Internal corners, which should be properly reinforced or treated as part of the approved system.
- Around the floor waste, where the membrane must connect correctly to the drainage point.
- Pipe penetrations for taps, shower mixers and plumbing outlets.
- Doorway transitions, hobs and any junction with an adjoining room.
A qualified contractor should also be able to explain the extent of waterproofing used for your bathroom layout. Requirements vary depending on whether the room has a shower over a bath, an open walk-in shower, a raised hob, a timber floor or another wet-area design. There is no one-size-fits-all coating pattern that suits every bathroom.
Ask for documentation, not promises
Good workmanship should be backed by clear records. Before tiling starts, take dated photographs of the waterproofed bathroom, including close-ups of corners, wastes and penetrations. Keep your contract, product details, invoices and any waterproofing certificate supplied for the project.
Documentation is useful if you sell the property, make an insurance enquiry or need to trace a future issue. It also creates accountability at the point when corrections are still straightforward. Pulling up a few tiles before completion is inconvenient. Rebuilding a shower after water has damaged framing and adjacent rooms is far more disruptive.
It is reasonable to ask who completed the waterproofing, what system was used and whether the work meets the applicable Australian requirements. Be cautious if a contractor is unwilling to show the membrane before tiling or cannot explain how the floor waste, corners and shower area have been treated.
Do not rely on a surface-only test
A visual inspection is valuable, but it has limits. Intact tiles and clean grout do not prove the waterproofing beneath is sound. Likewise, a minor grout crack does not automatically mean the whole bathroom needs demolition.
Where there are signs of a leak, a qualified professional may use moisture testing, controlled water testing, plumbing checks or targeted tile removal to identify the cause. This process helps distinguish between a failed membrane, leaking pipework, deteriorated sealant, poor drainage or water entering through an external wall.
Avoid flooding a bathroom yourself in an attempt to test it. Excess water can worsen an existing issue, spread into other areas and make it harder to pinpoint the original source. Testing needs to be planned around the bathroom layout, drainage and likely failure point.
When a professional inspection is the sensible option
Arrange a professional assessment if you see recurring moisture damage, unexplained mould, loose tiles, water stains below the bathroom, persistent pooling in the shower or dampness in an adjacent room. It is also worthwhile before purchasing a home with an older bathroom, particularly where a recent cosmetic update has been completed without clear renovation records.
For a bathroom renovation, choose trades who understand the full sequence of wet-area work. Plumbing set-out, substrate preparation, waterproofing, falls, tiling and fit-off all affect the finished result. BP Building & Maintenance approaches bathroom renovations with qualified trade coordination, including certified waterproofing, so the details behind the tiles receive the same attention as the finishes you see every day.
A bathroom should give you confidence, not leave you watching for damp patches after every shower. Inspect early, ask to see the work before it is covered, and act on warning signs while the repair is still manageable.