A bathroom renovation is only as sound as the room left behind after demolition. If old tiles, damaged sheeting, hidden leaks or redundant plumbing are not dealt with properly, new finishes can end up covering problems rather than fixing them. A professional bathroom strip out process clears the space safely, protects the rest of the home and gives qualified trades a clean starting point for the work ahead.
For homeowners in Caroline Springs and Melbourne’s western suburbs, strip-out is not simply a matter of smashing out tiles. Bathrooms contain water services, electrical connections, drainage, waterproofing layers and materials that need careful handling. The right process saves time later, limits unexpected damage and helps ensure the finished bathroom is built for long-term use.
What a Bathroom Strip Out Process Includes
A full bathroom strip-out removes the existing bathroom back to a suitable base for renovation. The exact scope depends on the age and condition of the room, the new layout and whether the renovation involves structural or plumbing changes.
In most complete renovations, this means removing fixtures such as the vanity, toilet, bath, shower screen, tapware and accessories. Wall and floor tiles are removed, along with old waterproofing, damaged plaster, cement sheet or flooring where required. Existing plumbing and electrical services are then assessed before the new bathroom layout is set out.
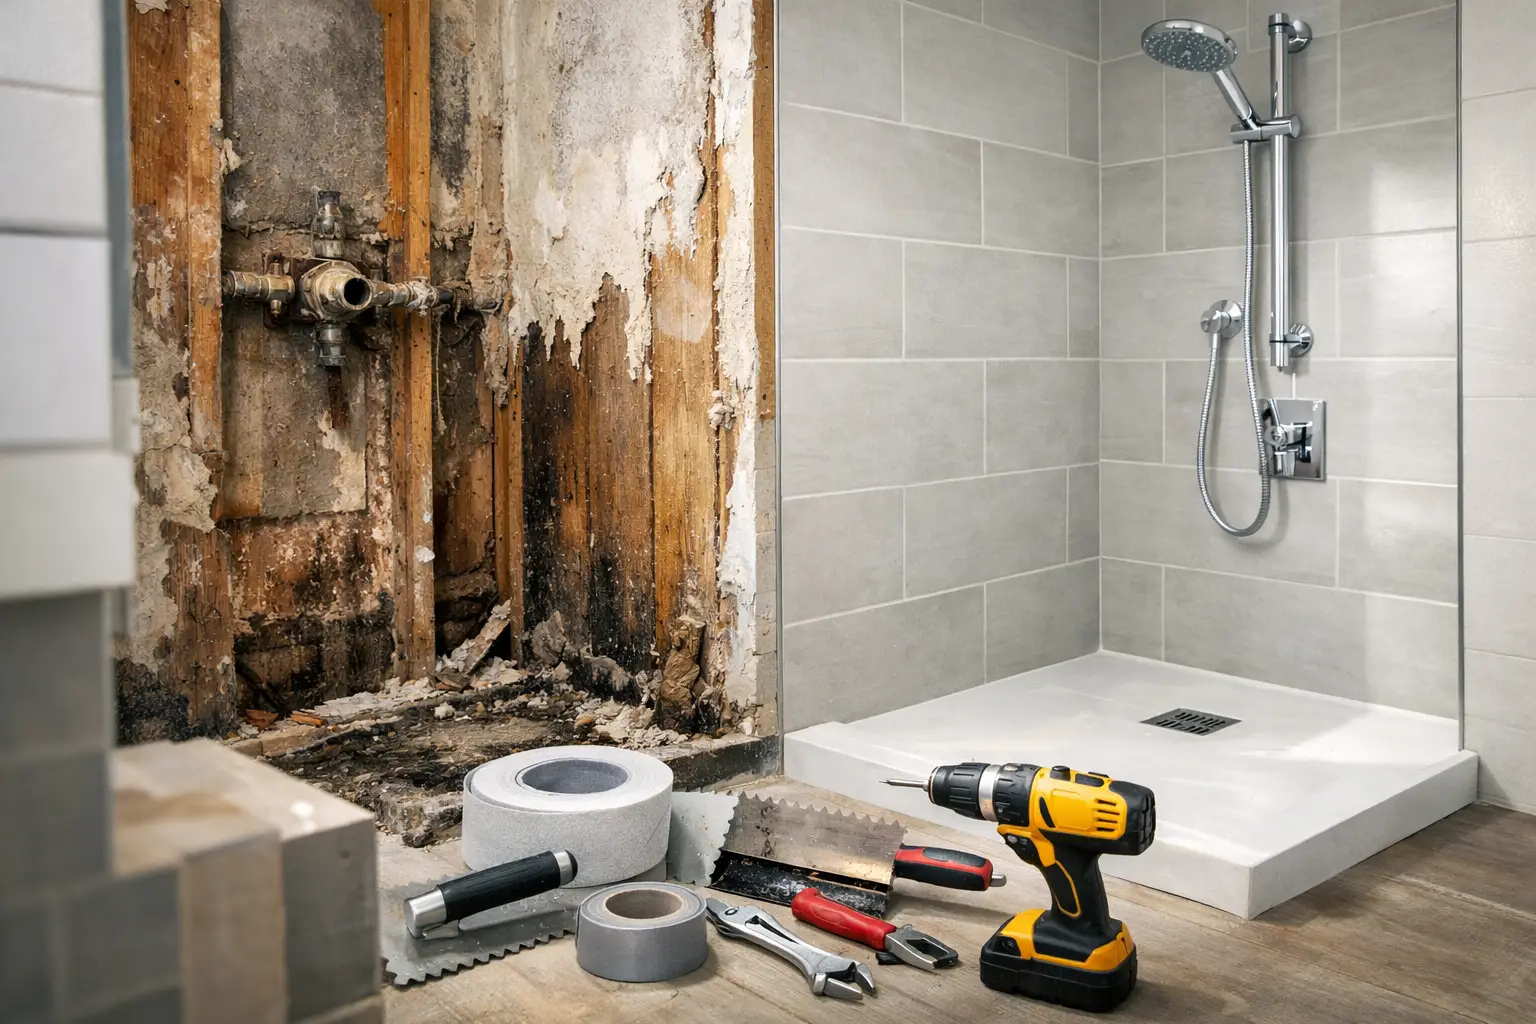
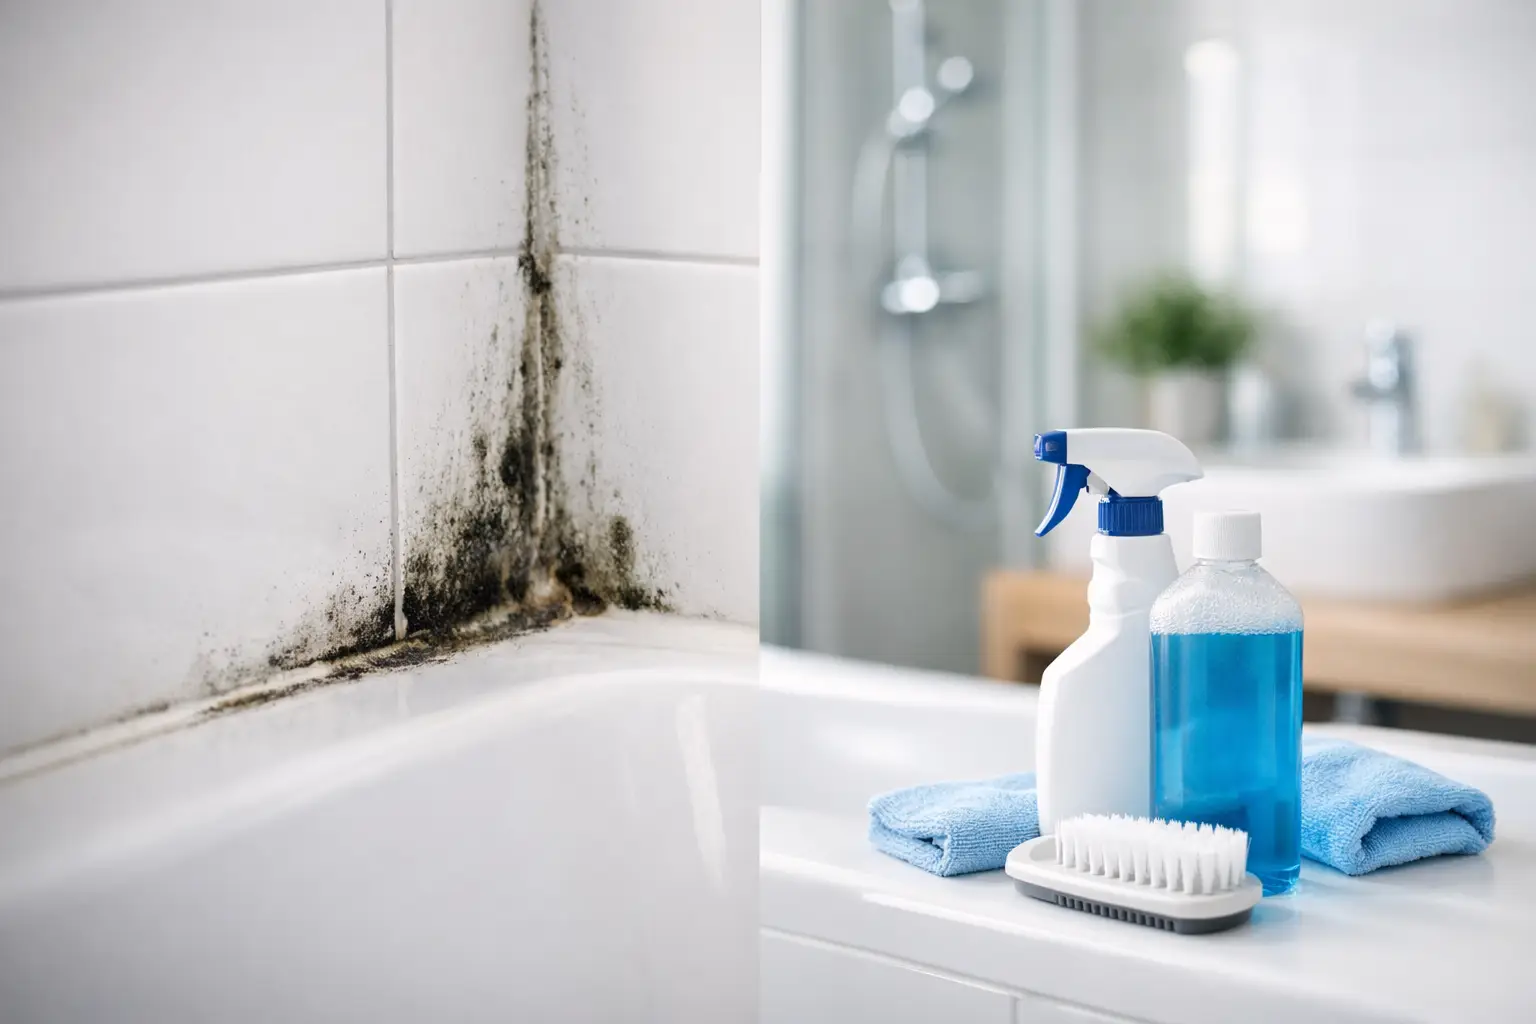
The goal is not to remove more than necessary. Sound framing, floor structure and service locations may be retained where they suit the new design and meet the required standard. However, if there is evidence of moisture damage, movement, mould or poor previous work, it is better to address it properly before new linings and tiles go in.
1. Site Preparation Comes Before Demolition
Good strip-out work starts with protecting the property. Trades should plan how they will access the bathroom, move materials through the home and contain dust and debris. Floors along access paths can be covered, nearby rooms protected and rubbish removal organised before demolition begins.
This preparation matters in occupied homes. Tile removal creates sharp debris and fine dust, while old fixtures can be awkward to manoeuvre through hallways. Careful site set-up keeps disruption under control and reduces the risk of damage to flooring, walls and doorways outside the bathroom.
Water and power services also need attention before anything is removed. A registered plumber can isolate water supplies and cap services where necessary. Electrical work should be managed by the appropriate qualified trade, particularly when fittings, exhaust fans, lighting or power points are being replaced.
Checking for hidden issues
Once fixtures and surface finishes start coming out, the real condition of the bathroom becomes visible. This is often when concealed water damage around showers, baths, toilets and vanities is found. Soft flooring, swollen wall linings, rusted fixings or stained framing can indicate a failed waterproofing system or a long-running leak.
Older homes can also contain materials that need specialist assessment before disturbance. If there is any concern about asbestos-containing products, work should stop until the material is properly identified and managed. This is not a shortcut area. Safe handling protects everyone in the home and prevents a much larger problem later.
2. Fixtures and Services Are Removed Methodically
A controlled sequence makes the bathroom safer to strip and easier to rebuild. Fixtures are generally removed first, followed by accessible fittings and services. This allows trades to see where pipes, drains and electrical cables run before wall and floor surfaces are opened up.
The shower, bath and vanity often reveal the most water-related damage, especially where seals have failed or waterproofing has broken down. Toilets must be disconnected correctly to avoid damage to drainage connections and to keep the site hygienic. If the layout is changing, plumbing rough-in requirements should be considered early so the new location of the shower, vanity, toilet or bath is practical.
A renovation can look straightforward on a plan but become more involved once the slab, subfloor or wall cavities are exposed. Moving a toilet, for example, may require drainage changes that are more complex than relocating a vanity. A qualified renovation team will explain these practical limitations before pushing ahead with a design that creates unnecessary cost or compromise.
3. Tiles, Linings and Waterproofing Are Taken Back to a Sound Base
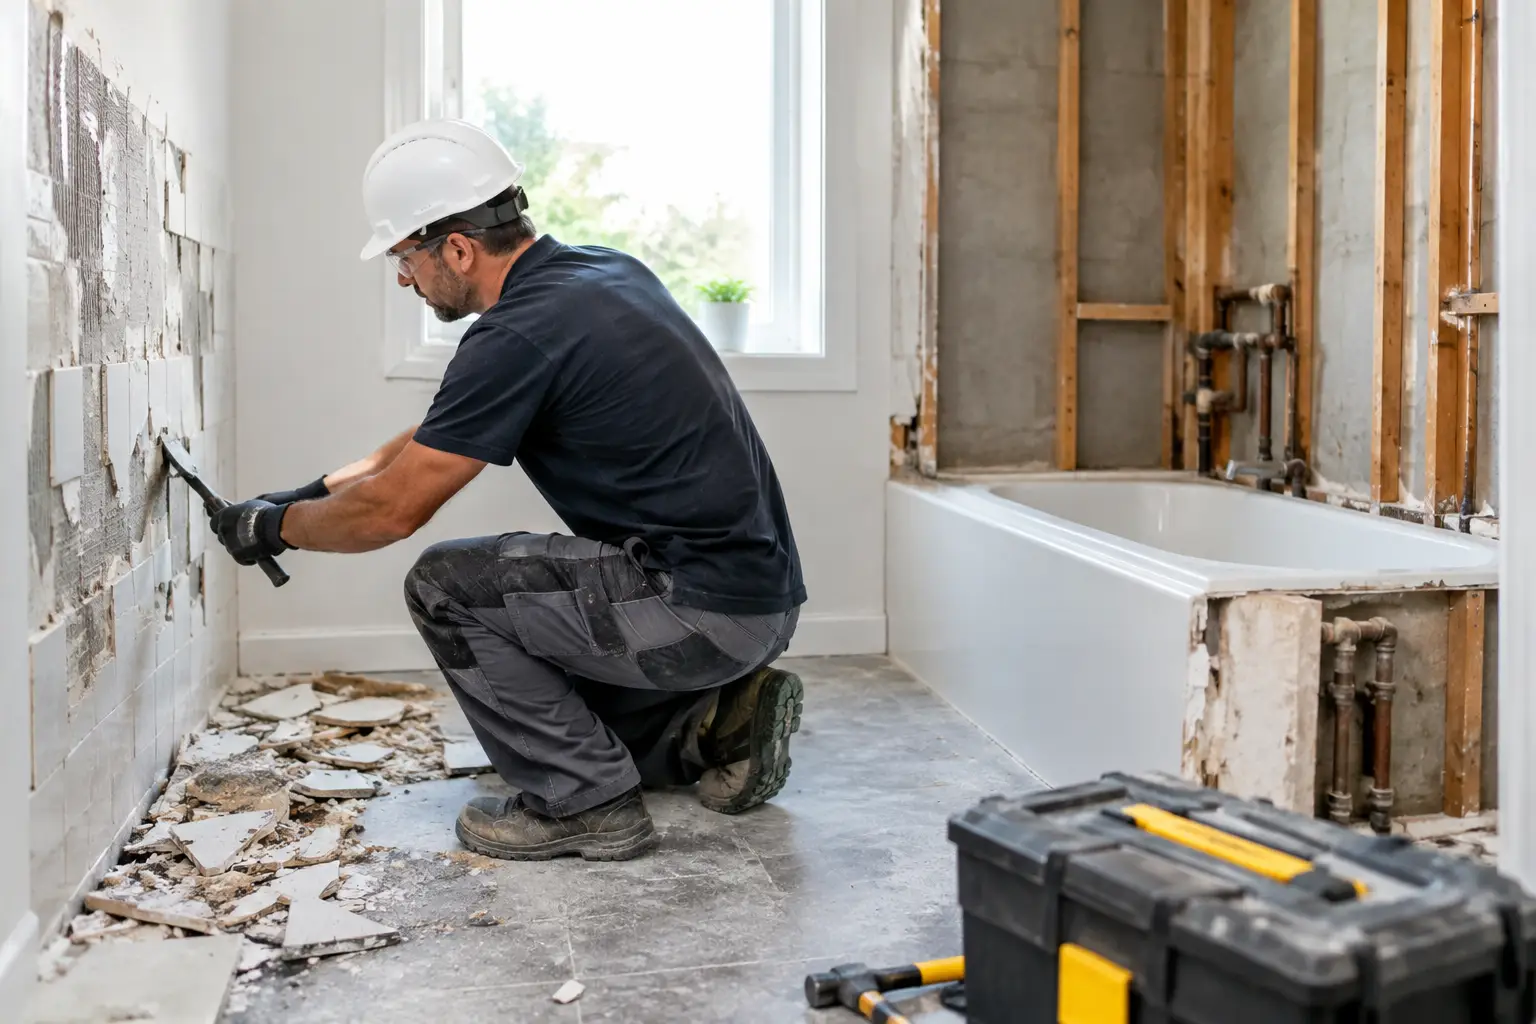
After fixtures are out, old wall and floor finishes can be removed. This stage is noisy and dusty, but it is where the bathroom begins to reveal what needs repair. Tiles are removed with care to avoid unnecessary damage to structural framing, adjacent rooms and plumbing services behind the walls.
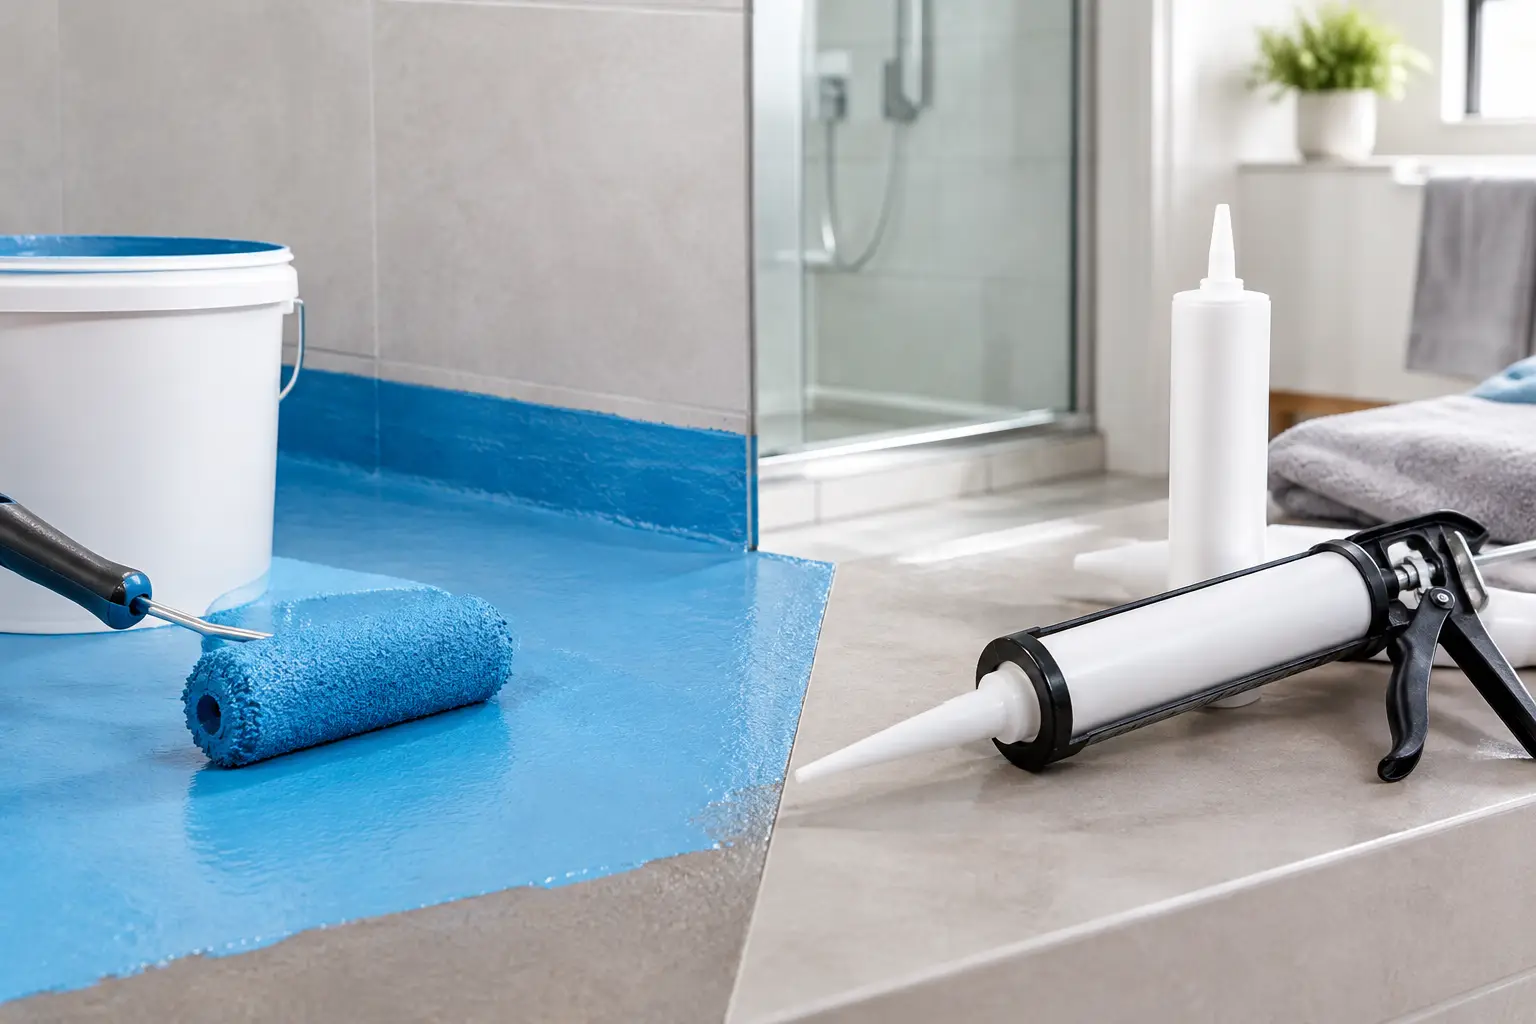
Old waterproofing is stripped away as part of a full renovation. Leaving sections of failed or unknown waterproofing beneath a new system is poor practice. The new waterproofing needs a clean, stable substrate so it can perform as intended around showers, floor wastes, wall junctions and other high-risk areas.
Wall sheeting and flooring are assessed once exposed. Where materials are water damaged, unstable or unsuitable for the new tile finish, they should be replaced. If carpentry repairs are needed, this is the right time to strengthen framing, correct uneven surfaces or prepare openings for a walk-in shower, recessed niche or new vanity arrangement.
4. Waste Removal Is Part of Doing the Job Properly
Bathroom demolition produces more waste than many homeowners expect. Tiles, concrete bedding, plaster, old cabinetry, shower screens, baths and packaging all need to be removed safely and responsibly. Leaving piles of rubble in a driveway or garage only makes the next stage harder.
A well-managed strip-out includes a plan for sorting and removing waste as work progresses. Heavy materials need to be handled safely, while reusable or recyclable materials may be separated where practical. The work area should be kept clear enough for plumbers, carpenters, waterproofers and tilers to move efficiently through the renovation.
Cleanliness is more than presentation. A tidy site makes defects easier to spot, reduces trip hazards and helps keep dust from travelling through the home. It also shows that the team is managing the project rather than simply working around a mess.
5. The Final Strip-Out Check Sets Up the Renovation
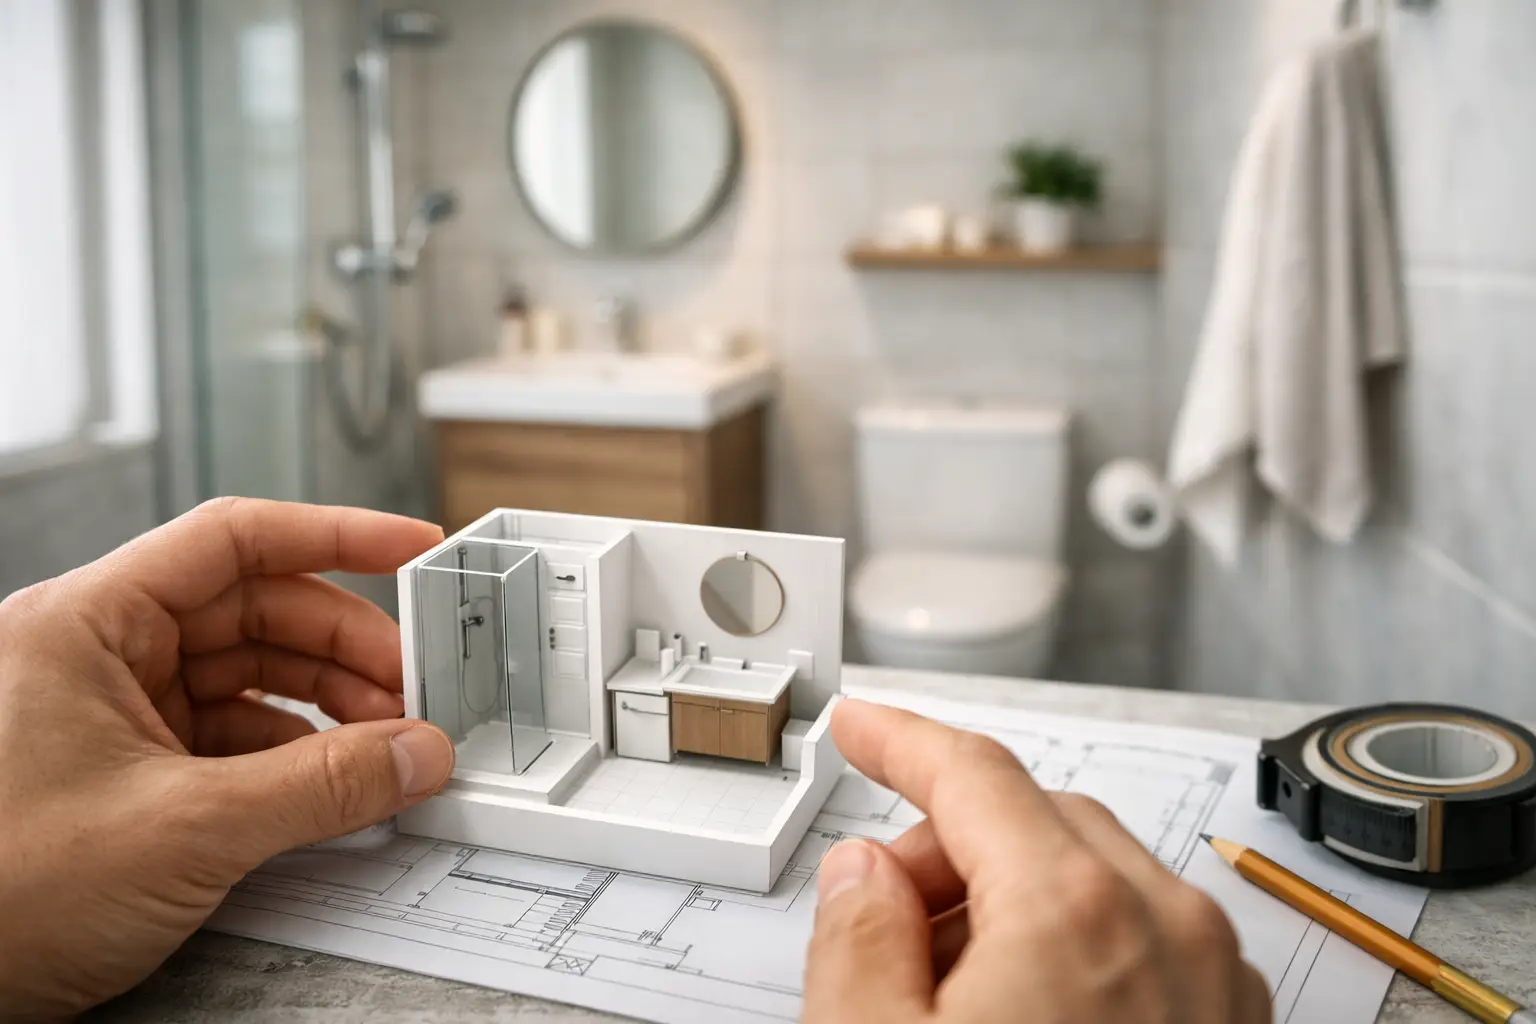
Before new work starts, the stripped room should be inspected against the approved layout. This is the time to confirm wall positions, plumbing points, drainage, floor levels and any repairs required before sheeting and waterproofing begin.
This checkpoint is particularly valuable for bathrooms with a walk-in shower. The fall to the floor waste, shower area dimensions, screen position and access all need to work together. Getting these details right at strip-out and rough-in stage avoids costly changes once tiling has started.
It is also the point where homeowners should be told clearly if hidden conditions have changed the scope. No one likes a variation, but finding and fixing damaged framing or failed plumbing before waterproofing is far better than discovering the issue after a new bathroom is complete. Straight answers early protect the quality of the result.
Why Qualified Trades Matter at This Stage
The strip-out phase affects every trade that follows. Poor demolition can damage pipes, weaken wall framing, create uneven substrates or leave contaminated materials behind. Those problems can delay the project and add avoidable cost.
A team with the right trade capability can assess the room as it is opened up and make informed decisions. Registered plumbing, qualified carpentry and certified waterproofing are especially important in wet-area renovations because the work must function behind the tiles, not just look good on handover day.
BP Building & Maintenance manages complete bathroom renovations with the practical focus homeowners need: remove what has failed, repair what matters and prepare the room properly for the new build. That approach is especially valuable when renovating an older bathroom with unknown waterproofing or previous workmanship hidden behind the walls.
What Homeowners Can Do Before Work Starts
Before the strip-out date, clear personal items from the bathroom and nearby storage areas. Remove medicines, toiletries, towels, artwork and anything fragile from the access route. If the bathroom is your only one, confirm the expected outage period and make temporary arrangements before the work begins.
It also helps to finalise fixture selections and layout decisions early. Changes to tapware, vanity size, bath type or shower design can affect plumbing locations, wall framing and tile quantities. A clear plan gives the renovation team the best chance of maintaining momentum once demolition starts.
A properly managed strip-out may not be the most visible part of a bathroom renovation, but it is where durable work begins. Choose trades who treat the hidden stages with the same care as the finished tiles, and you will be starting your new bathroom on solid ground.