A shower can look freshly tiled, modern and clean while water is quietly finding its way behind the wall or under the floor. Knowing how to prevent shower leaks comes down to more than choosing quality tiles or a good-looking tapware range. It relies on the work underneath – waterproofing, drainage, plumbing connections and the way every junction is finished.
For homeowners planning a bathroom renovation, this is the stage where cutting corners becomes expensive. A small leak may not show itself for months, but once moisture reaches timber framing, plaster, adjoining rooms or cabinetry, the repair can involve far more than replacing a few tiles.
Why shower leaks happen
Most shower leaks are not caused by the tiles themselves. Tiles and grout are a hard-wearing surface, but neither is a waterproof barrier. Water can pass through grout lines, small cracks and unsealed edges over time. The waterproofing membrane behind the tiles is what protects the structure of the home.
Leaks commonly develop where different materials meet or where water is concentrated. This includes wall-to-floor junctions, shower corners, around mixer taps and outlets, along the shower screen, at the waste, and around a recessed niche. These areas need correct preparation and flexible detailing before tiling begins.
Poor falls to the floor waste are another common cause. If water sits in a low spot instead of draining away, it continually loads the same section of the shower floor. That can expose weaknesses in grout, silicone and waterproofing far sooner than a properly graded floor.
Start with proper shower waterproofing
The most reliable way to prevent shower leaks is to treat waterproofing as a critical construction stage, not a quick job hidden behind tiles. The shower area should be properly prepared, primed and waterproofed as a complete system, with compatible products used according to their specification.
A certified waterproofer understands that the membrane needs more than broad coverage across the floor and walls. Corners, penetrations, hob edges, floor wastes and wall-to-floor junctions require careful attention. Reinforcing tapes, bond breakers and collars are used where required so movement in the building does not split or stress the waterproof layer.
The membrane must also be allowed to cure before tiling starts. Rushing this stage to speed up a renovation can compromise the finish before the bathroom is even in use. A fast turnaround is valuable, but it should never come at the cost of the work that keeps water out of the structure.
For Victorian bathrooms, waterproofing should be completed in line with applicable Australian Standards, building requirements and product instructions. This is not an area for guesswork or surface-level fixes.
Waterproofing must connect with the drainage plan
The floor waste is one of the most important points in a shower. Waterproofing needs to integrate correctly with the waste so water that reaches beneath the tiles is directed into the drainage system rather than trapped under the floor finish.
This is especially important in walk-in showers. Their open design can look excellent and improve access, but they need precise floor falls and well-considered drainage to stop water travelling beyond the shower zone. Depending on the layout, a linear drain, centre waste, fixed glass panel or discreet shower screen may be the right choice. The best option depends on the room size, shower position and how the bathroom will be used.
Get the shower floor falls right
A shower floor should guide water efficiently to the waste without creating an uncomfortable or uneven surface. Too little fall leaves puddles. Too much can make the floor feel awkward underfoot and create tiling issues, particularly with larger format tiles.
The size and type of tile matters here. Small mosaic tiles can suit shower floors because the additional grout lines allow the surface to follow falls more easily. Larger tiles can also work, but they require accurate cutting and set-out around the waste. A qualified tiler will plan this before installation rather than trying to force a pattern to work after the floor has been formed.
Look closely at the transition between the shower and the rest of the bathroom as well. In a hobless or walk-in shower, the falls need to keep water within the wet area while maintaining practical access. This detail is one reason shower construction should be managed as part of the full bathroom build, rather than split between unrelated trades.
Use qualified plumbing for every connection
A leak behind a tiled wall can come from a failed pipe connection, mixer body, shower outlet or waste fitting. These faults are difficult to access and can cause considerable damage before they become visible.
Registered plumbing work helps ensure pipes are correctly installed, tested and positioned before walls are closed. Pipe penetrations through the waterproofed wall also need to be sealed correctly. It is not enough for the plumbing to work on the day of installation – it needs to remain secure and accessible enough for future maintenance where possible.
Quality tapware and fittings are worth considering, but even premium fixtures can leak if they are installed poorly. The focus should be on compatible components, sound connections and correct testing before the bathroom fit-off is completed.
Finish edges and joints properly
Silicone plays a practical role in preventing water from getting into movement joints. It should be used at internal corners, around shower screens and where fixtures meet tiled surfaces. Grout is not a substitute for silicone in these areas because grout is rigid and can crack as the building moves.
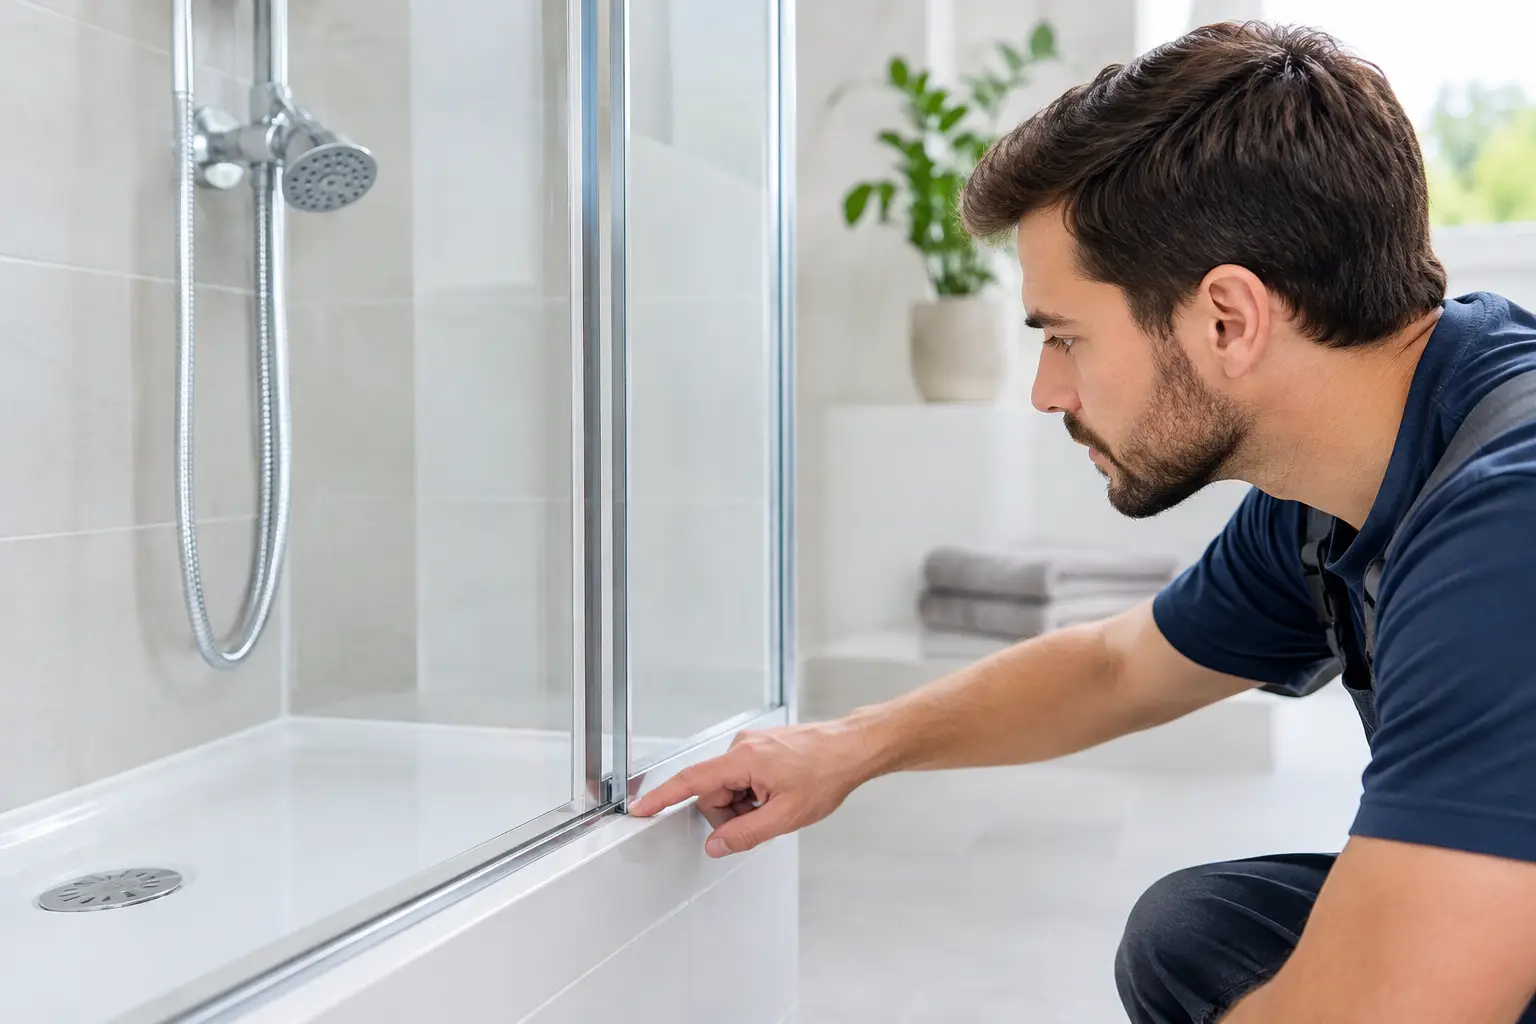
The shower screen must also be fitted and sealed with care. A screen that is slightly out of level, poorly sealed at the wall, or incorrectly positioned relative to the floor falls can allow water to escape every time the shower is used. Frameless glass can create a clean, open look, but it demands accurate installation and realistic expectations. Some minor splash can occur in an open walk-in design, especially in smaller bathrooms or with high-pressure shower heads.
A practical shower layout considers how people actually use the space. The direction of the shower head, screen length, niche position and entry point all affect where water lands. Good planning prevents the common problem of a stylish shower that sends water across the bathroom floor.
Watch for early signs of a shower leak
Do not wait for water to appear in the next room before arranging an inspection. Early action can limit damage and help identify whether the issue is a plumbing fault, failed sealant, drainage problem or compromised waterproofing.
Warning signs include:
- Persistent mould or musty smells around the shower, even after regular cleaning.
- Cracked, loose or drummy-sounding tiles, particularly on the shower floor or lower walls.
- Swollen skirting, peeling paint or staining on the wall beside or behind the shower.
- Water pooling outside the shower, slow drainage or recurring moisture around the waste.
- Deteriorating silicone, missing grout or visible gaps around fixtures and shower screens.
Replacing silicone or repairing grout can resolve minor surface maintenance issues. However, these repairs will not fix failed waterproofing behind the tiles. If there is evidence of ongoing moisture damage, the shower may need a more thorough assessment before cosmetic work is carried out.
Plan leak prevention into the renovation
The best time to prevent a shower leak is when the room has been stripped back and the structure is visible. During a complete bathroom renovation, existing water damage can be identified, plumbing can be upgraded where needed, the shower layout can be corrected and waterproofing can be completed properly before tiling begins.
This integrated approach avoids the risk of one trade working around another trade’s mistakes. It also gives homeowners a clearer view of what is being done at each stage, from demolition and plumbing rough-in through to waterproofing, tiling and final fit-off.
For bathrooms in Caroline Springs and Melbourne’s western suburbs, BP Building & Maintenance provides complete renovation work backed by qualified plumbing, carpentry and certified waterproofing capability. The goal is straightforward: build a shower that looks right, drains properly and stays watertight long after the renovation is finished.
A shower should be one of the most reliable rooms in the house. Investing in the work behind the tiles gives you the best chance of keeping it that way.